‘Tis The Season
Make it sustainable, make it yours!
December is here, boasting holiday cheer. We’ve been busy getting lots of lovely sustainable gifts ready for you and your loved ones. While there can be a lot of excitement and energy brewing this time of year, we wanted to slow things down a bit and focus on our favorite seasonal slow brew: DIY Pine Needle Cleaning Solution. Whether you’re a pro at concocting eco-friendly creations or you are just looking to dip a toe into the waters (or in this case, vinegar), we’ve got you covered with this simple and fun formula.
Pine Tree 101
We’re going to get technical for a sec.
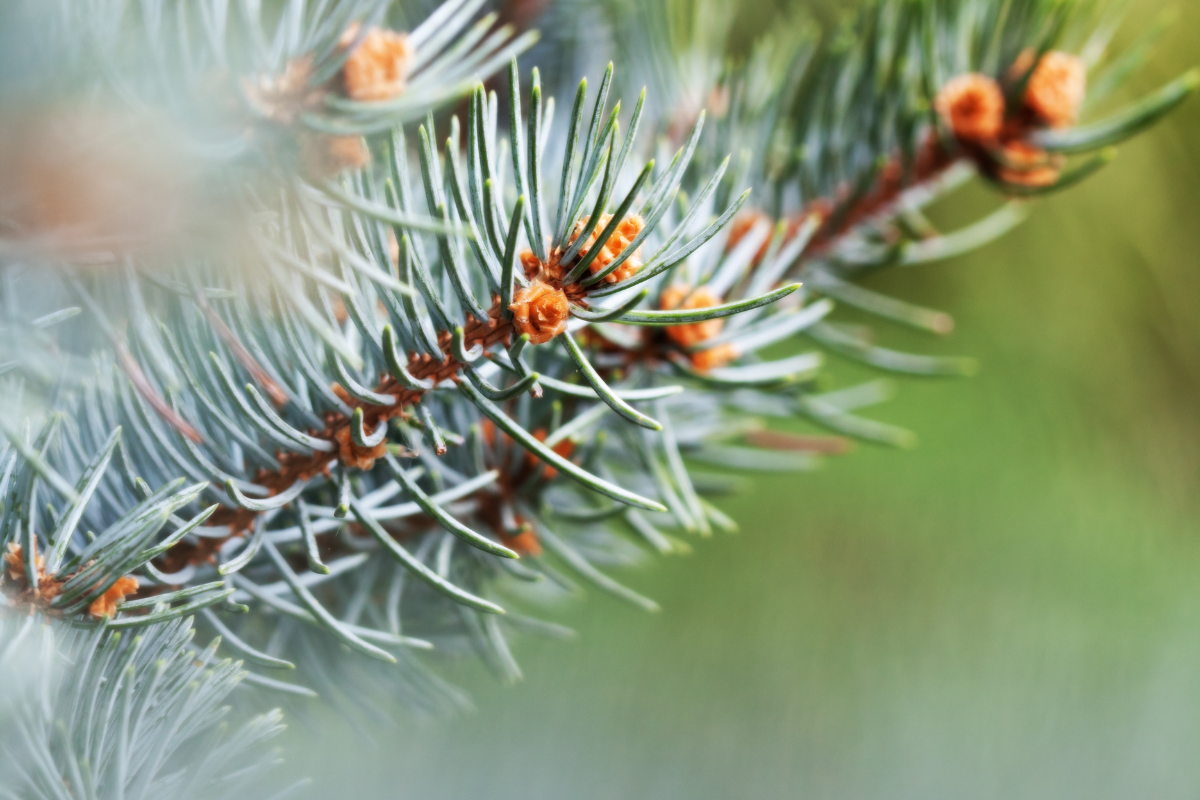
“Pine tree” is a colloquial term that many use to describe any conifer tree. While a great many conifer trees, or trees that bear cones, belong to the pine family (Pinaceae), there are more than just pine trees that exist in this scientific categorization. Firs and spruces (what are commonly sold as Christmas trees in the United States) are important conifers often referred to as “pine trees”, although they technically do not belong to the Pinus genus. There are about 115 different species of pine trees that can be found throughout the Northern Hemisphere of the world and a whole lot of pine trees here in Wisconsin.
The bottom line: for our DIY formula, you don’t have to be that exact. Any evergreen tree near you will work just fine. If you are struggling to find one, or just want to know more about the trees around you, we recommend using a plant identification app such as Seek (which you can read all about in our Seek and You Shall Find blog post from this past September).
Creating your Pine Needle Cleaning Solution
Have fun and don’t sweat the details!
Pick your Pines
Start by collecting your pine needles. When I went out to the backyard a few days ago in the frosty early morning Wisconsin air, I ended up with about 1 cup of needles for my cleaning solution. For your recipe, strive to collect roughly the same. It’s not important that your amount of pine needles be exactly one cup.
With my last go at this project, I had many questions about undesirable sap from the needle base getting into the brew. To avoid any sticky sap, cut the needles off the branch instead of pulling them.
Once I collected all of my pine needles, I placed them in a strainer and gave them a quick rinse to separate out any wood, seed or dirt particles. After rinsing, I removed my pine needles from the strainer and placed them into a clean jar. I used an old jelly jar that has a roughly 20 ounce capacity. For your jar selection, it’s best to use a jar that you already have (hello eco-friendly project!) with about the same volume capacity. If the best jar for you is a great deal larger or smaller, feel free to adjust the proportions as you see fit.
Infuse Your Vinegar
Next, I added the vinegar. Since I used our 20% Concentrated Cleaning Vinegar, I had to first dilute it down to 5% vinegar (5% strength vinegar is what you find in most grocery stores). To get 5% vinegar I use a 1 part vinegar to 3 parts water ratio. I poured 5 ounces of vinegar into the jar and 15 ounces of water. Do you have to be exact? Absolutely not! But do leave about an inch of space between your solution and the top of your jar.
With my lid securely placed atop my jar, I gave my mixture a good shake. While watching the needles swirl, I stowed the solution in my fridge. I let my Pine Needle Cleaning Solution sit in the fridge for four weeks, shaking every two days or so.
Create Your Brew
After your solution has set, strain the needles out with a Nut Milk Bag or cheesecloth and compost or throw away the needles. Now that you have your Pine Vinegar it’s time to make your cleaning solution. As is, your brew is a strong concoction so you’ll want to dilute it. Pour your pine vinegar in a spray bottle about 2 thirds of the way up, then top it off with water and give it a swirl to mix. Spray and enjoy your clean, pine fresh house!
DIY Pine Needle Cleaning Solution
Prep time: 10 minutes
Total time: Four weeks
What you’ll need:
- About 1 cup of pine needles
- Glass jar with water tight lid
- Vinegar–we recommend our 20% but store bought 5% will do
- Water
- Strainer
- Medium sized bowl
- Nut Milk Bag or cheesecloth
- Spray Bottle
- Gather roughly one cup of pine needles.
- Strain and rinse to remove debris.
- Place needles into a jar that has about a twenty ounce capacity.
- Add vinegar and water (see above for proportions), leaving about an inch of room between your solution and the top of the jar.
- Secure lid and shake.
- Place in the fridge for at least four weeks, agitate the solution every two days or so.
- After four weeks are up, strain your solution into a medium bowl using a nut milk bag or cheesecloth.
- Once strained, transfer your solution into a spray bottle and fill about two-thirds full.
- Top off your spray bottle with warm water and shake lightly.
- Your Pine Needle Cleaning Solution is now ready to use and enjoy!
For more information about pine trees, head on over to the American Conifer Society website.


Comments
MARILYN- This solution makes an amazing cleaner for glass and hard surfaces. The only surface I would avoid is stone as the vinegar can be too harsh. We also recommend doing a test patch if you’re ever concerned about a surface.
What is this cleaning solution used for? How do you use it?